Netgear Wireless Router Configuration: A Step-by-Step Guide for a Seamless Internet Experience
Introduction
Netgear wireless routers are renowned for their user-friendly interfaces and ease of use. However, setting up and configuring your router effectively can still be a daunting task, especially for first-time users. In this article, we'll walk you through the process of setting up and configuring your Netgear wireless router for a smooth internet experience.The Importance of Proper Configuration
As we can see from the illustration, Netgear Wireless Router Configuration has many fascinating aspects to explore.
Proper configuration of your wireless router is crucial for ensuring a stable and secure internet connection. A well-configured router will provide you with a high-speed internet connection, minimize dead zones, and prevent online threats such as hacking and interference.Step 1: Unboxing and Physical Setup
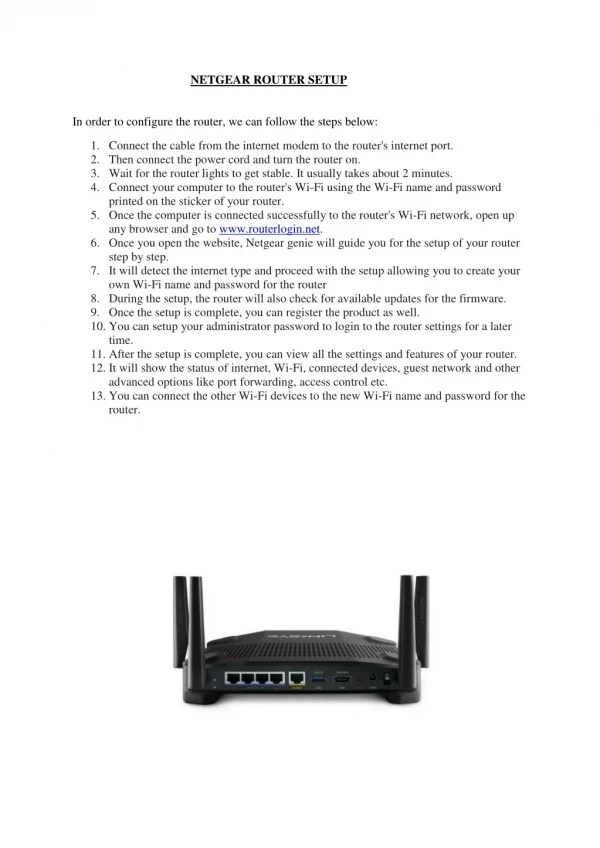
First things first, unbox your Netgear wireless router and connect it to the power source. Follow the manufacturer's instructions for physical setup, which typically includes connecting the modem to the Internet port on your router and attaching any external antennas. There are two main setup options for your Netgear wireless router: the Nighthawk app and manual installation using the web interface.Option 1: Nighthawk App Setup
As we can see from the illustration, Netgear Wireless Router Configuration has many fascinating aspects to explore.
To install your router using the Nighthawk app, follow these steps: * Download and install the Nighthawk app from the App Store or Google Play Store * Attach the provided antennas (if any) and connect your modem to the Internet port on your router * Power on your router and wait for the WiFi LED to light upOption 2: Manual Web Interface Setup
Alternatively, you can manually install your router using the web interface by following these steps: * Connect a computer or mobile device to your router's WiFi network using the router's WiFi network name and password * Open a web browser and enter the default IP address of your router (usually 192.168.0.1 or 192.168.1.1) * Log in to the web interface using the admin username and password Once you have set up your Netgear wireless router, you need to connect to the internet using the configuration information provided by your Internet Service Provider (ISP). This may include the host and domain names, internet login name and password, domain name servers (DNS) addresses, and fixed or static IP address.Netgear Router Configuration Settings

Furthermore, visual representations like the one above help us fully grasp the concept of Netgear Wireless Router Configuration.
Your router's configuration settings are stored in a configuration file within the router. This file can be saved (backed up) to a user's PC, retrieved (restored) from the user's PC, or cleared to factory default settings.


 Review")


