Mac Screenshot with Cabin: A Comprehensive Guide
Are you tired of struggling to take a screenshot on your Mac? Look no further! In this article, we'll explore the various methods to take a screenshot on your Mac, including the use of keyboard shortcuts, the Screenshot app, and the Grab Utility tool. Whether you're a beginner or a seasoned user, we'll cover everything you need to know to master the art of taking screenshots on your Mac.Method 1: Take Full-Screen Screenshot
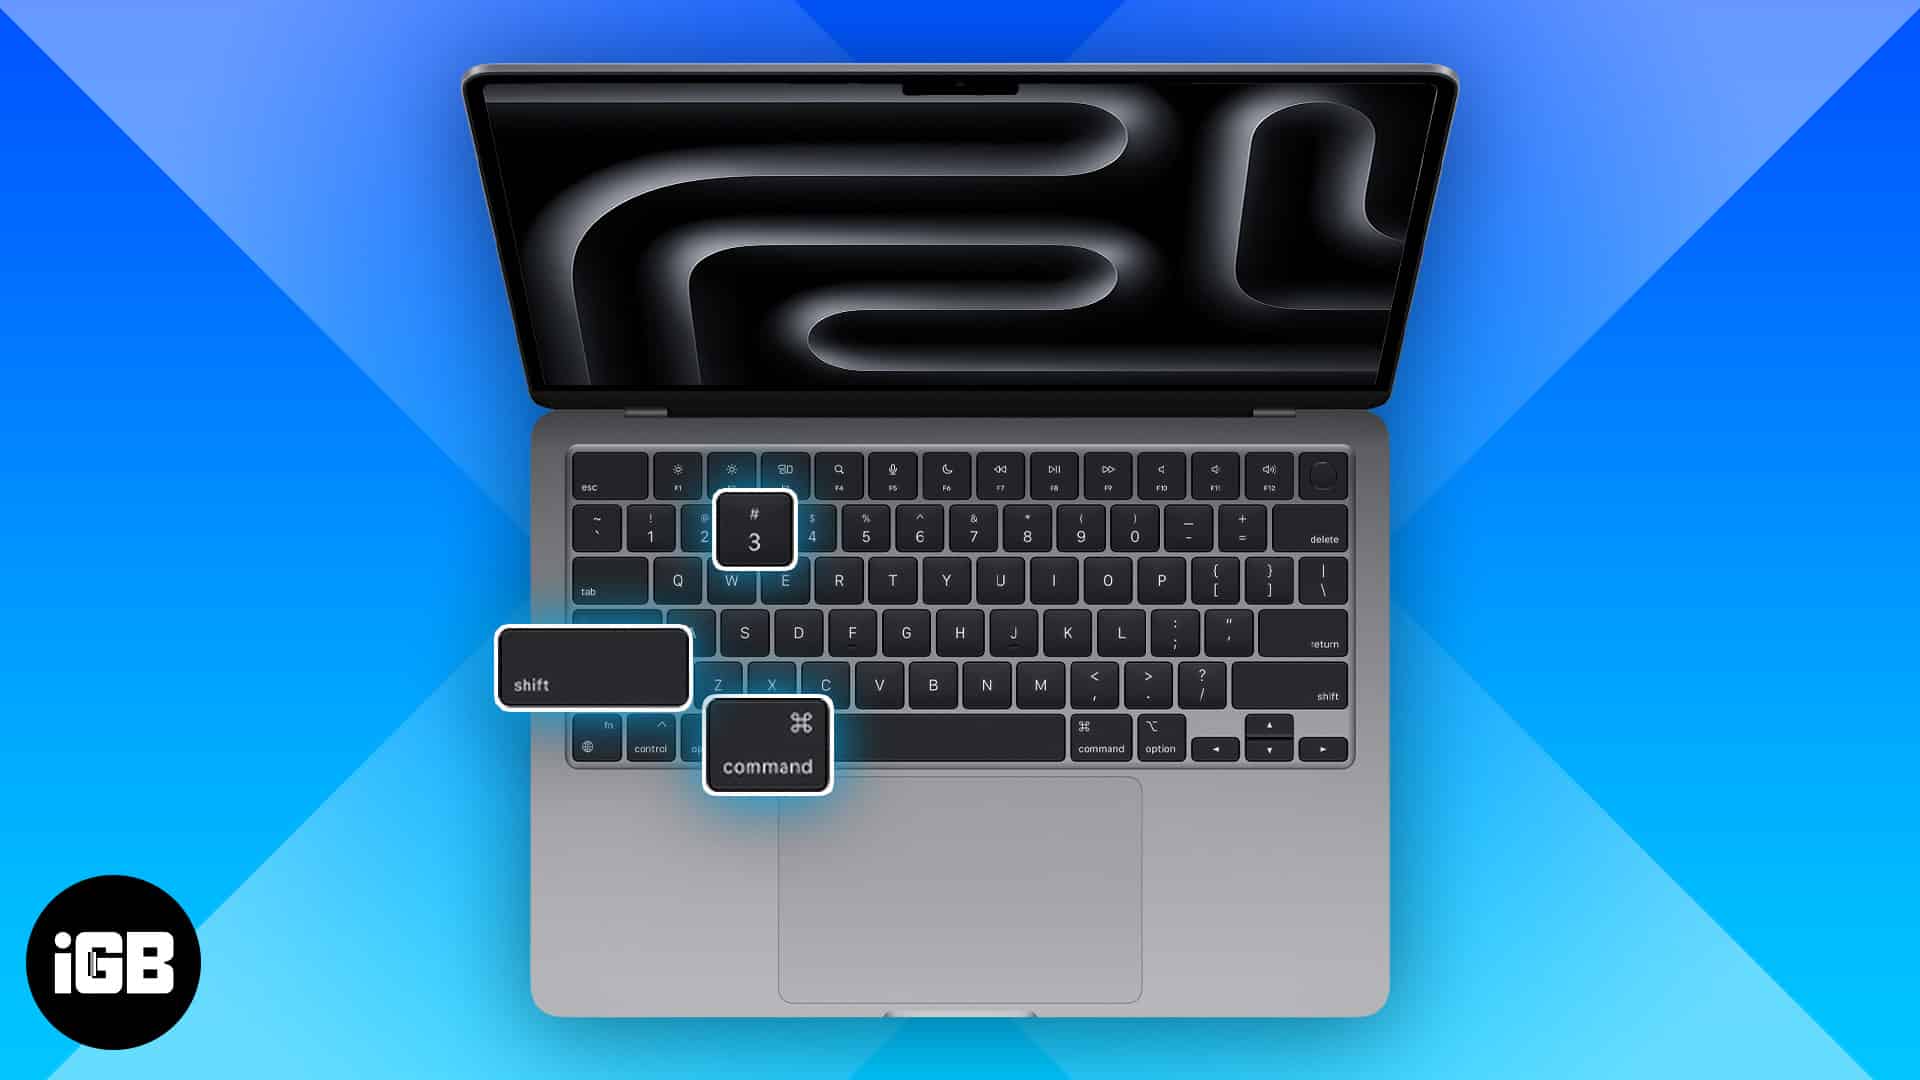
The first method to take a full-screen screenshot on your Mac is by using the keyboard shortcut Command + Shift + 3. This will capture the entire screen, including the Dock, top menu bar, and everything else. A thumbnail of the screenshot will appear at the bottom right of your screen, allowing you to edit or save the screenshot.Method 2: Capture a Portion of the Screen
If you only want to capture a portion of the screen, you can use the keyboard shortcut Command + Shift + 4. This will allow you to select a specific area of the screen to capture. You can also use the mouse to drag a rectangle around the area you want to capture.Method 3: Capture a Window or Menu
Using the Screenshot App
The Screenshot app is a built-in tool on Macs that provides a panel of tools to take screenshots and screen recordings. With the Screenshot app, you can easily capture screenshots and screen recordings, with options to control what you capture, such as setting a timer delay or including the pointer or clicks.Using the Grab Utility Tool
The Grab Utility tool is another built-in tool on Macs that allows you to take screenshots and screen recordings. With the Grab Utility tool, you can easily capture screenshots and screen recordings, with options to control what you capture, such as setting a timer delay or including the pointer or clicks. When you take a screenshot on your Mac, it is automatically saved to the Screenshots folder in the Pictures folder. You can access this folder by going to the Finder and navigating to the Pictures folder.Customizing the Screenshot Experience


: Complete Methods & Tips")


 | Beebom")


 - iGeeksBlog")


:max_bytes(150000):strip_icc()/how-to-take-a-screenshot-on-a-macbook-air-04-87f9a9e30bfb4e948b815b85c54dbb77.jpg "Take screenshot on Mac: How to make screenshots and recordings")


 - Kinsta")


