Say Goodbye to Tangles: Easy to Follow Shoelace Tying Instructions
Tying your shoelaces doesn’t have to feel like that tedious chore you’ve always avoided. For many, mastering how to loop, knot, and secure their laces remains a surprisingly tricky skill—even for adults. But with the right guidance, this everyday task becomes simple, satisfying, and uniquely achievable. Whether you're helping a child learn their first shoe strings or refreshing your own technique, mastering **easy to follow shoelace tying instructions** is the key to confidence and consistency. In this guide, we’ll walk through a step-by-step, beginner-friendly method designed to make lacing and tying as simple as learning to ride a bike. Say goodbye to tangled, loose laces and hello to reliable, secure knots every time.Why Simple Shoelace Tying Matters
Such details provide a deeper understanding and appreciation for Easy To Follow Shoelace Tying Instructions.
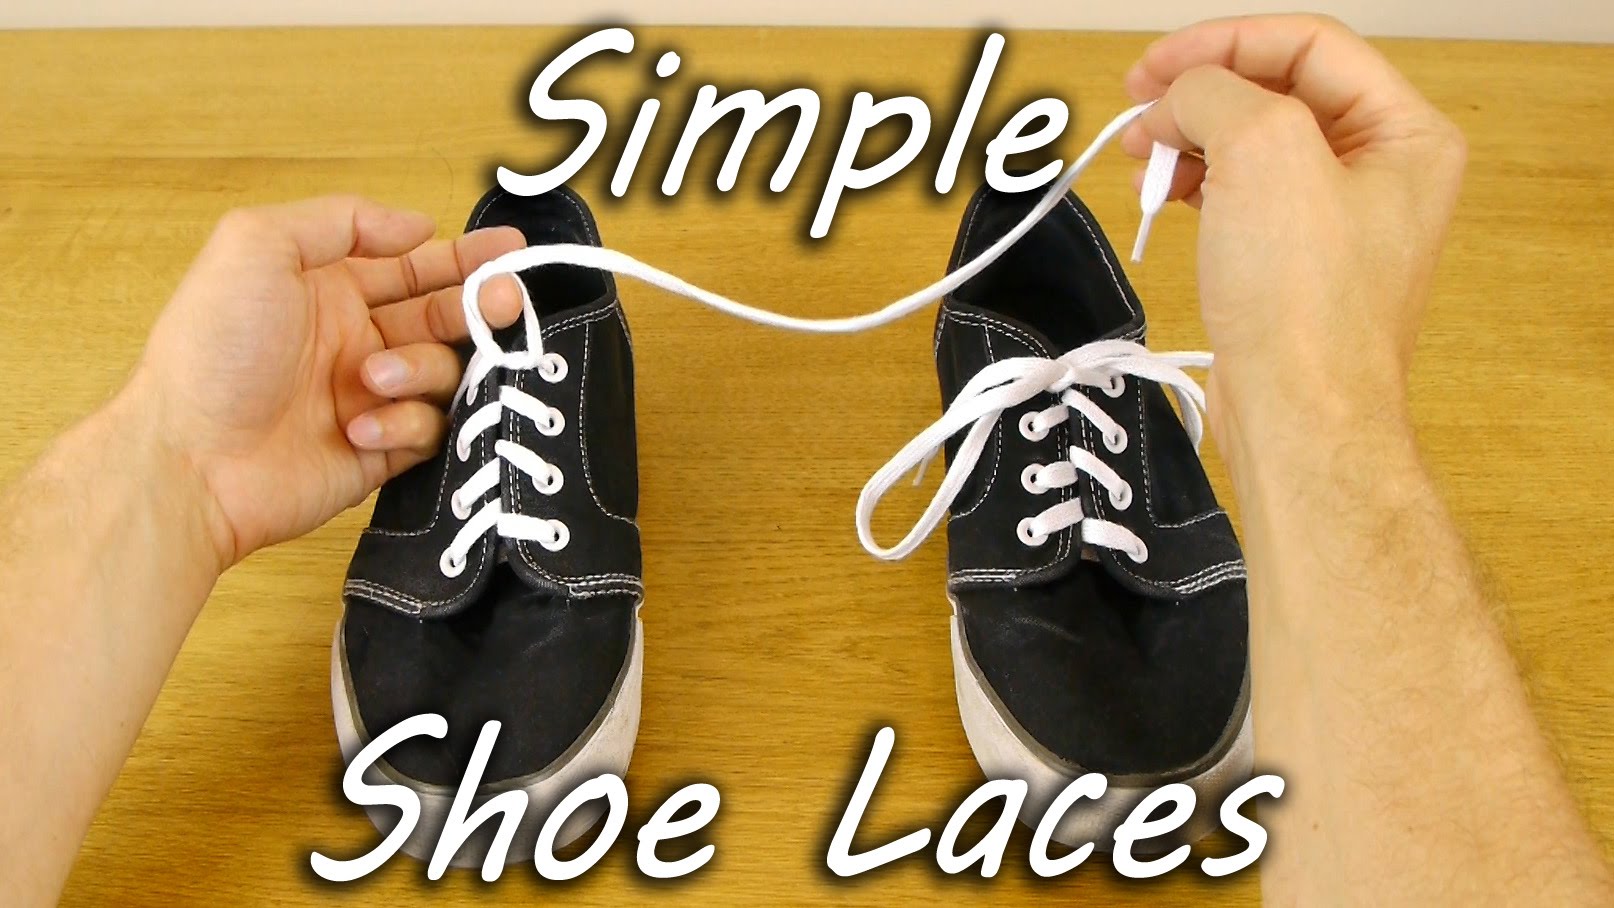
You might not think much about how you tie your shoes—but this small act plays a major role in daily life. A secure lace knot keeps your shoes safe on your feet, prevents slipping, and builds self-reliance. For kids, learning proper lace tying is a confidence booster, often sparking independence and responsibility. For adults, it’s a reminder of foundational skills that support mobility and comfort all day long. Finding **easy to follow shoelace tying instructions** doesn’t mean oversimplifying—often the best approaches strip down the process to its core steps, making it unlikely you’ll forget or struggle. Let’s walk through a clean, **easy to follow shoelace tying instructions** that works for sneakers, boots, and casual shoes. This method combines tried-and-true steps with clear visuals and minimal steps—perfect for learners of all ages. 1. **Start with Clean, Even Knots** Begin with your shoelaces square and centered in the eyelet. Cross one lace over the other, bringing one end through the center loop. This initial cross creates a light foundation for the knot. 2. **Create a Basic Loop** Take both lace ends and cross them again—this second crossing helps form the first half of your knot, reducing slippage and building structure. 3. **Form the Top and Bottom Loops** Gently pull each lace upward from their loops. Create one loop at the top (beginning of the shoe) and a loop at the bottom. These anchors keep your knot tight and stable. 4. **Bring Both Ends Through the Center** Slide both lace ends together through the small space between the loops at the top. This step locks the knot in place without tangling. 5. **Tuck and Tighten Thoroughly** Carefully tuck each lace under itself and pull gently but firmly—this final tuck secures your bow or bow-like knot tightly but neatly. 6. **Adjust for Security and Shape** With practiced ease, smoothly adjust the loops and ends, ensuring symmetry. A good tip? Use thumbs to guide tightness—no more guessing if your knot holds. These six simple steps form the backbone of an effective, **easy to follow shoelace tying instructions** that anyone can follow, repeat, and master.Common Lacing Methods, All This Easy Guide Covers

This particular example perfectly highlights why Easy To Follow Shoelace Tying Instructions is so captivating.
Different lacing patterns work better depending on shoe type and preference—from the iconic bow to the ""; quiet “no-knot” shoelace. Our approach works seamlessly with either method: - **Bunny Ears Technique:** Ideal for kids—use the classic two loops at each hand for maximum control and visual clarity. - **Five-Color Bunny Method (or Universal Bow):** Streamlines adjustments and improves grip, especially useful for everyday speed. Whether new to shoes or refining old habits, these **easy to follow shoelace tying instructions** adapt effortlessly to any style.Visual Learning for Visual Learners and Beyond

This particular example perfectly highlights why Easy To Follow Shoelace Tying Instructions is so captivating.
Seeing the process is just as powerful as doing it. That’s why this guide integrates clear, labeled illustrations alongside each step. From cross motions to final tightening, every angle reinforces understanding. These visuals are especially helpful for children, visual thinkers, or anyone who gains confidence from watching before trying. Pair each visual cue with concise, step-by-step text for seamless learning. - wikiHow")

")
")


