Durable Knot Layouts for Hiking Boots: Secure Your Foot, Nail Your Trail
When you lace up your hiking boots, it’s easy to treat the task as routine—tighten the laces, double the knot, and hit the trail. But what if that simple loop isn’t quite *durable enough* to keep your boots securely tied through rugged terrain, shifting weather, and long days on the trail? That’s where smart, enduring knot layouts come in. Choosing the right **durable knot layouts for hiking boots** can literally mean the difference between a smooth hike and a frustrating fix mid-adventure. In this guide, we’ll explore proven knot techniques that keep your laces tight, your boots secure, and your confidence high—no matter what the trail throws at you.Why A Good Knot Matters for Hiking Boots

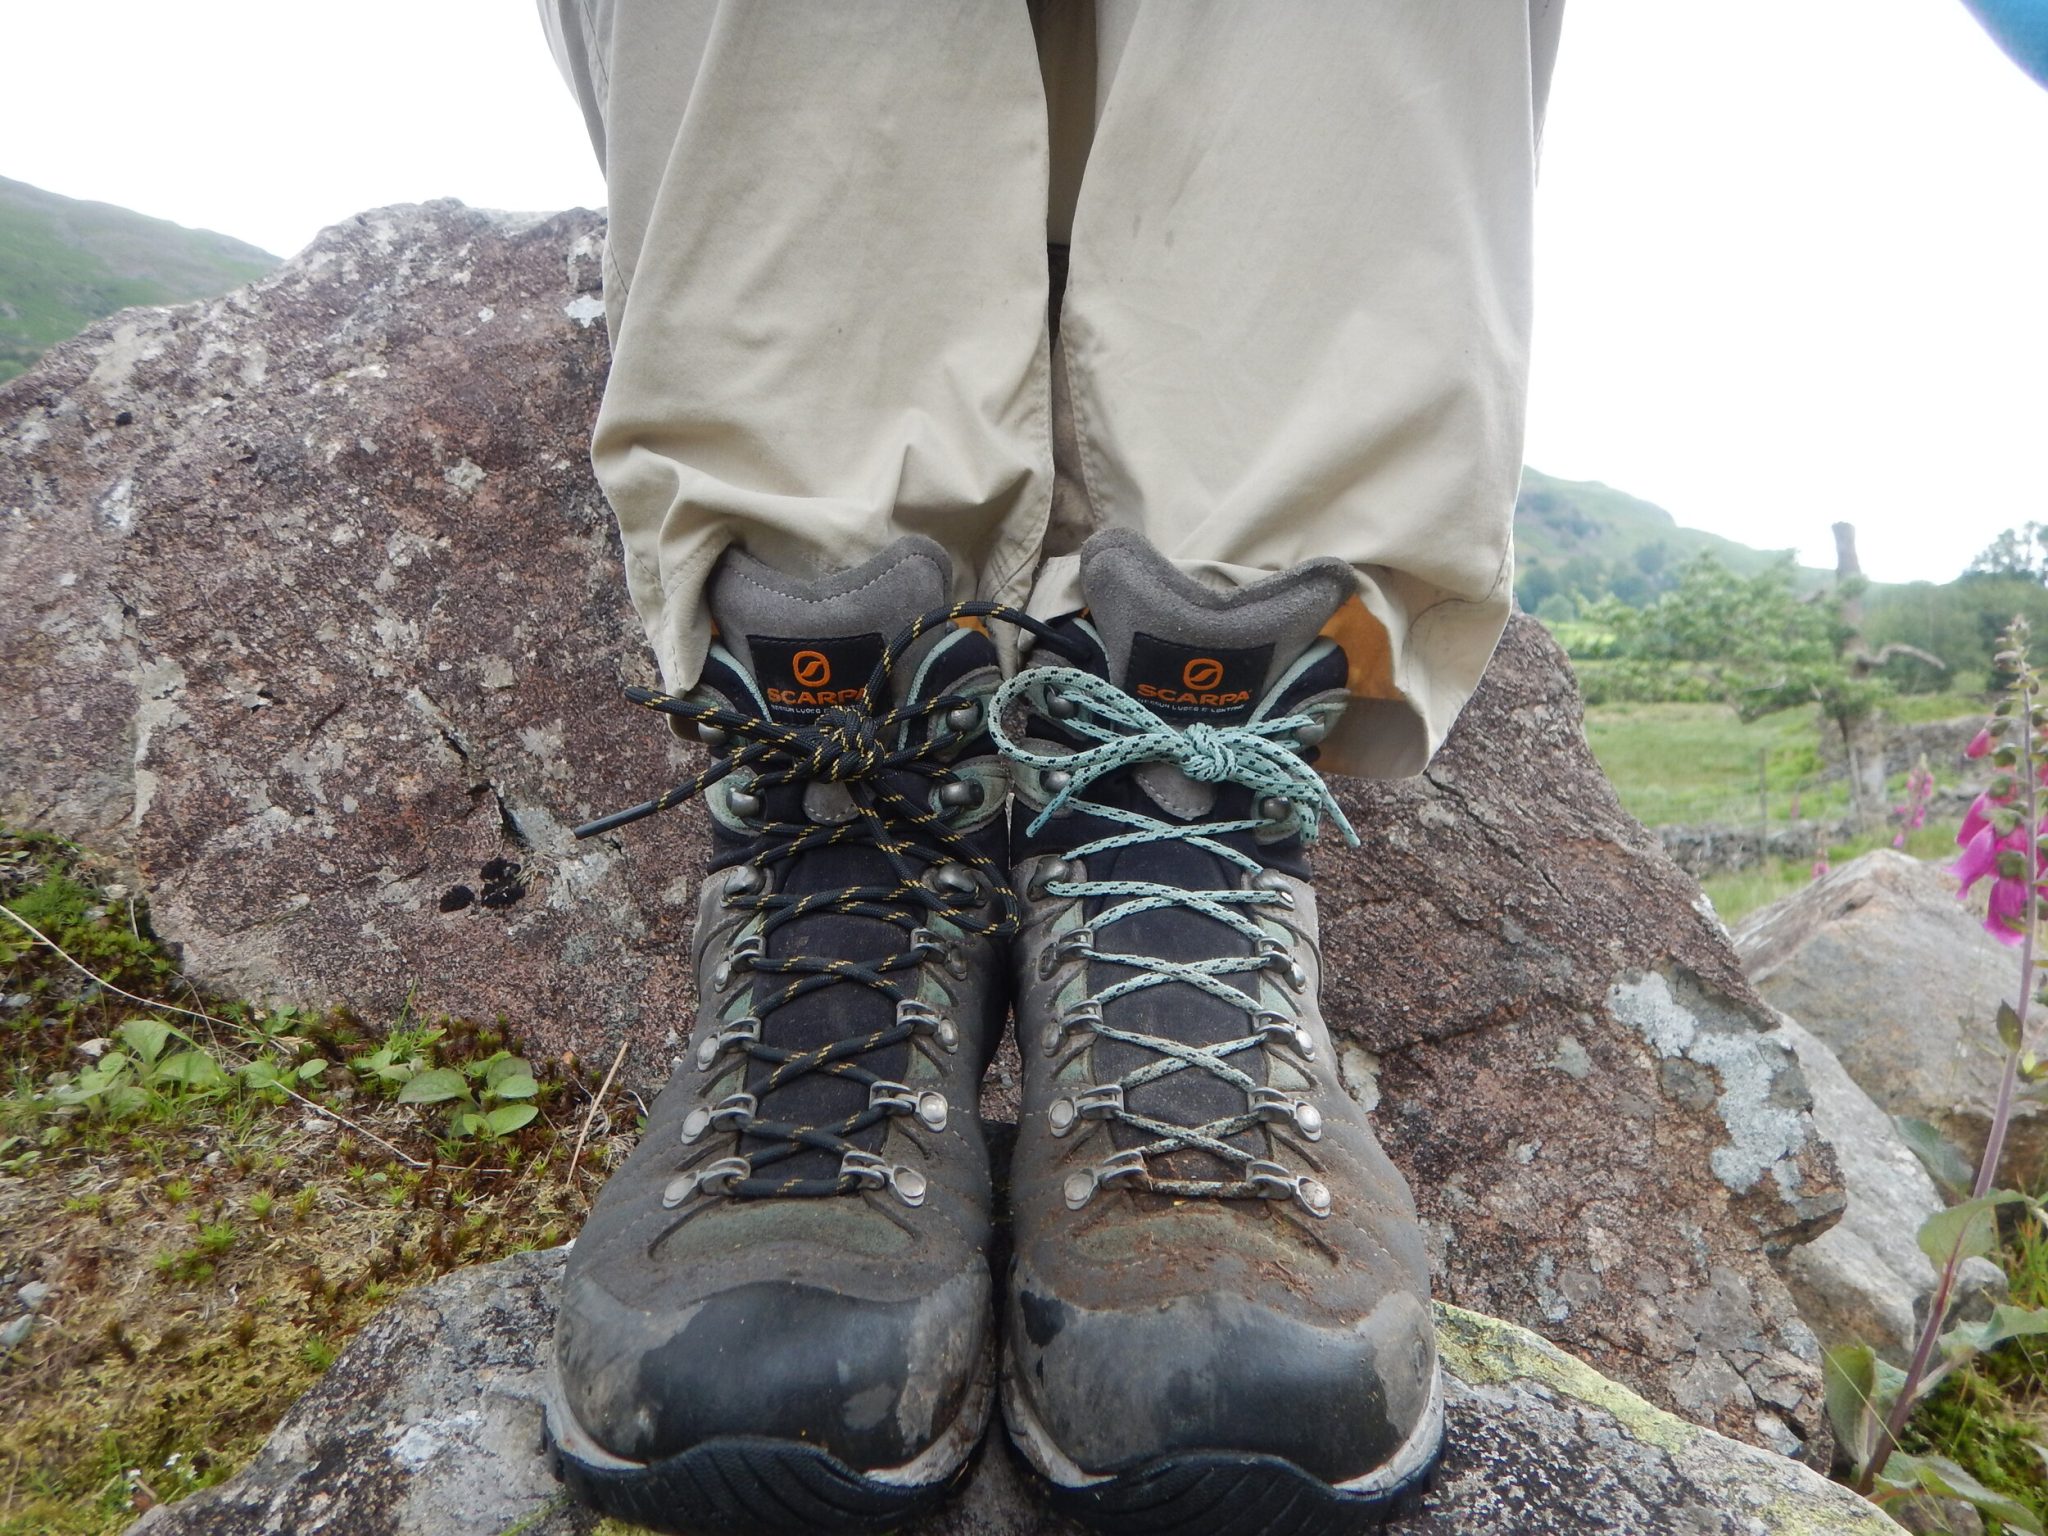
As we can see from the illustration, Durable Knot Layouts For Hiking Boots has many fascinating aspects to explore.
Your hiking boots are your home base. Whether you're scrambling over rocks, traversing damp forest floors, or braving mountain passes, the laces need to hold firm when it counts. A flimsy knot can slip, fray, or unravel—leading to blisters, lost support, and even safety risks. That’s why mastering **durable knot layouts for hiking boots** is essential, not just for comfort, but for protection and peace of mind. The double overhand knot is a beloved classic, but it’s only one part of the equation. The real durability comes from how you tie, tighten, and reinforce the ends—forming a knot layout that remains secure under pressure, over hours of use, and across varied terrain. These techniques turn simple lacing into a strategic skill. Let’s break down the most effective durable knot layouts designed specifically for the demands of hiking footwear:- Double Overhand Knot: This reliable, no-frills knot offers solid security. After wrapping the laces and creating two tight overhand knots, pull tight and trim frayed ends. Ideal for quick, secure lacing when blister prevention and mid-hike stability are priorities.
- Surgeon’s Knot (also known as surgeon's bow): Originally designed for strong, secure lashing, the surgeon’s knot adds an extra twist to standard overhand lacing. It resists slipping far better—perfect for hikers needing maximum knot durability, especially on steep or slippery trails.
- figured_in_8knot_in_8hikingboots_knot—Actually, this typo refers to a tactical figure-eight knot adapted for boots. It creates a strong, compact loop that holds tight under force and resists abrasion. Great for preventing laddering and maintaining tension.
- Steward’s Knot variant: Though more common in climbing, a refined steford-header knot works well with tuning the laces on hiking boots for a smooth yet secure finish. Minimal bulk, maximum retention.
- Loop-In-Lace Technique: This advanced method involves threading each lace into a loop before tying, which distributes tension evenly across the knot. It’s a favorite among experienced hikers who want maximum durability and minimal fray.
Such details provide a deeper understanding and appreciation for Durable Knot Layouts For Hiking Boots.
Each of these knot layouts offers unique strengths, but all share one critical trait: durability under real-world stress. Whether your boots face relentless rain, rocky descents, or long days of pushing uphill, a proven **durable knot layout for hiking boots** is your silent partner on the trail. Tying a knot isn’t just about tying your shoes—it’s about building a strong system. Here are actionable tips to maximize your **durable knot layouts for hiking boots**: - Start with properly prepared laces: Trim frayed ends straight across, not diagonally, for clean, strong starts. Fatigue can lead to uneven cuts—this weakens even the sturdiest knot. - Use low-stretch, high-tensile laces for maximum hold. Natural fibers like Dyneema or polyester outlast cotton in wet and dry conditions. - Tighten, but don’t overkill—over-tightening can squeeze your boot’s upper, causing discomfort or damage. Aim for snug, not crushed, fits. - For risky terrain, double-knotting or layering with a secondary knot—like tying a square knot over a double overhand—adds redundancy. - Always inspect your laces before heading out—check for nicks, weak spots, or signs of wear. Replace laces before they become a liability.Why Expert Lacing Matters: More Than Just Aesthetic


