Do It Yourself Solar Panel Installation: A Comprehensive Guide
Learn how to design, install & maintain your own solar panel system. Complete DIY guide with permits, costs, safety tips & step-by-step installation. Are you considering installing a solar panel system on your home but are unsure where to start? Do you want to learn how to design, install, and maintain your own solar panel system? Look no further! In this article, we will provide a comprehensive guide on how to do it yourself (DIY) solar panel installation.The Benefits of DIY Solar Panel Installation
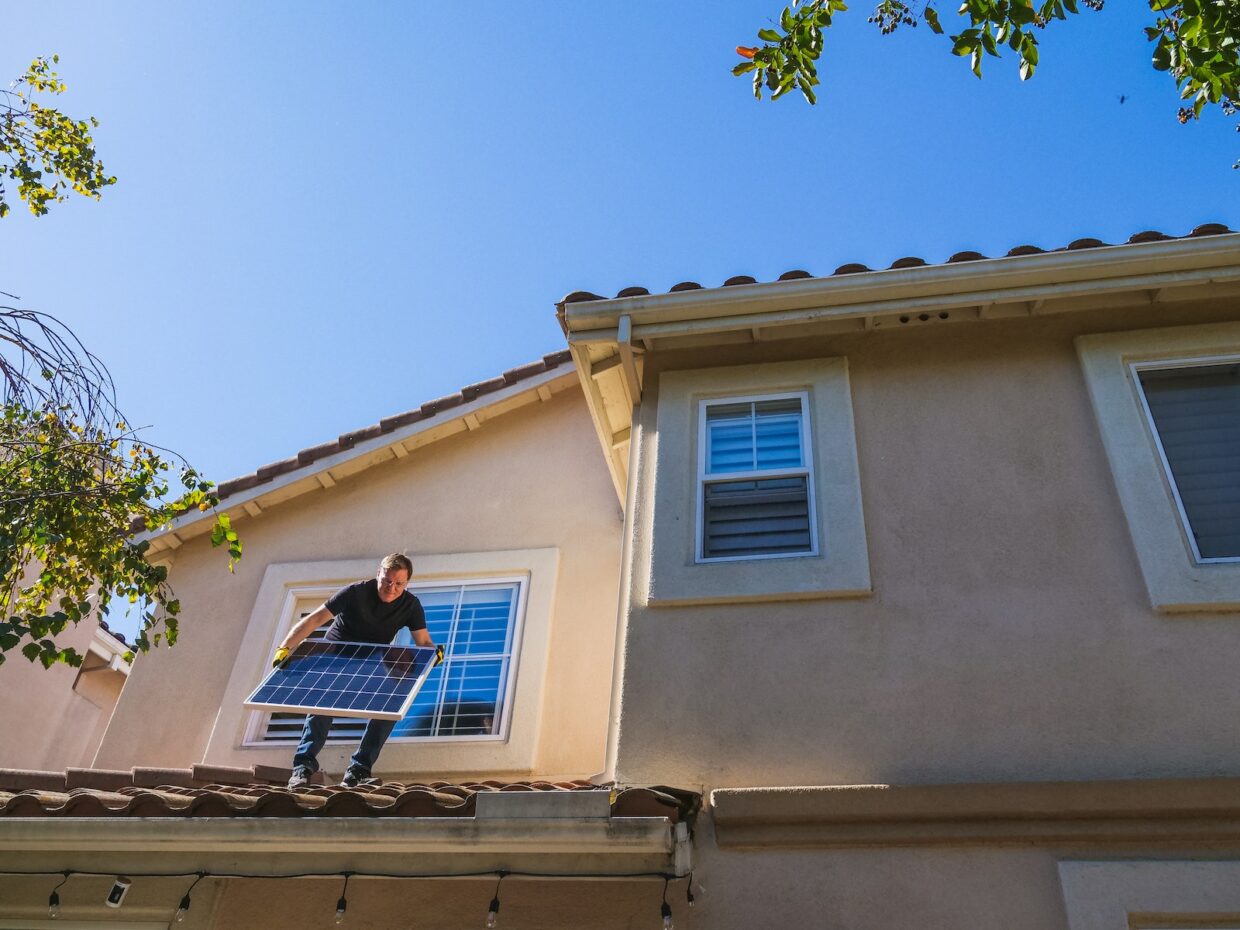
Before we dive into the details, let's discuss the benefits of DIY solar panel installation. By taking on this project yourself, you can save thousands of dollars in installation costs and cut years off your payback period. You will also have full control over the design and installation of your solar panel system, allowing you to customize it to your specific needs. However, it's essential to note that DIY solar panel installation requires technical skills, particularly in electrical work. If you're not comfortable with climbing on your roof or wiring a household electrical socket, it's recommended that you hire a professional installer.Step 1: Plan and Design Your Solar Panel System
- Assessing your energy needs
- Choosing the right solar panel size and type
- Designing the installation site
- Obtaining local building permits
- Calculating the total cost of the project
Step 2: Purchase and Prepare the Equipment
Once you have a clear plan for your solar panel system, it's time to purchase and prepare the equipment. This includes: * Make sure to purchase high-quality equipment from reputable suppliers to ensure optimal performance and safety.Step 3: Install the Mounting System

Such details provide a deeper understanding and appreciation for Do It Yourself Solar Panel Installation.
With the equipment at hand, it's time to install the mounting system on your roof or on the ground. This includes: * Be sure to follow the manufacturer's instructions and local building codes for this step.Step 4: Install the Wiring and Connectors
Next, you'll need to install the wiring and connectors to connect the solar panels to the inverters and the electrical grid. This includes: *- Running the wiring from the solar panels to the inverters
- Connecting the wiring to the inverters
- Connecting the inverters to the electrical grid
Step 5: Install the Inverters and Other Components

- Mounting the inverters to the wall or on a dedicated inverter panel
- Connecting the inverters to the electrical grid
- Installing any other necessary components, such as a monitoring system
Step 6: Test and Commission the System
Once all the components are installed, it's time to test and commission the system. This includes: *- Checking the solar panel system's performance and output
- Verifying that the system is operating safely and efficiently
- Ensuring that the system is properly connected to the electrical grid


