Access Point Setup On Linksys EA6350: A Step-by-Step Guide
Understanding the Linksys EA6350 Router
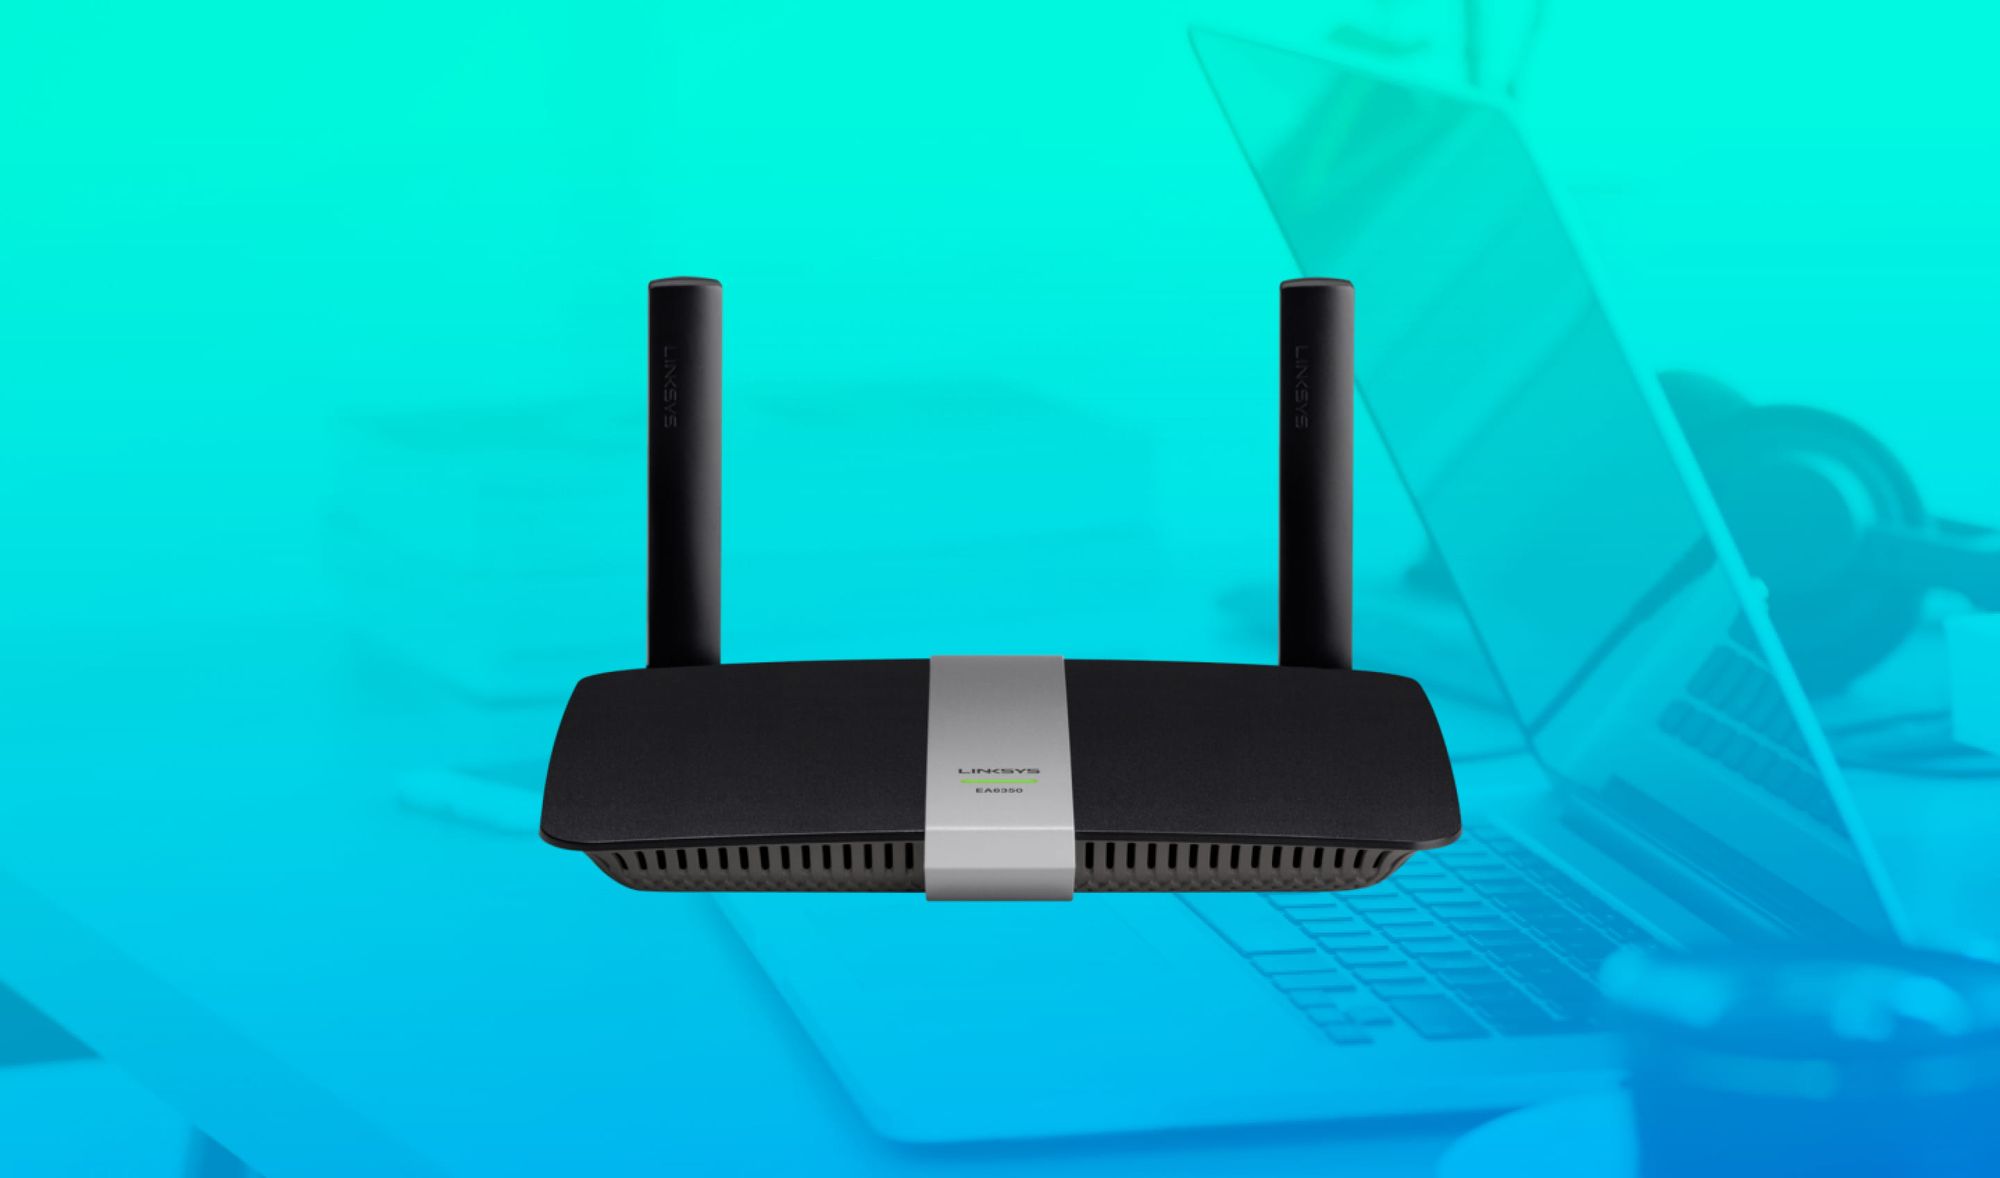
The Linksys EA6350 is a popular dual-band WiFi router that offers fast and reliable internet connectivity. It features Gigabit Ethernet ports and is compatible with the Linksys Smart Wi-Fi app, which allows users to easily manage their router's settings. In this article, we will focus on setting up the Linksys EA6350 as an access point, which will enable devices without WiFi to connect to the internet through a wired connection.
What is an Access Point?
An access point is a device that allows wireless devices to connect to a wired network. It acts as a bridge between the wired and wireless networks, making it possible for devices like laptops and smartphones to connect to the internet even if they don't have a built-in Ethernet port.
Setting Up the Linksys EA6350 as an Access Point
First, connect the Linksys router to your modem using an Ethernet cable. Make sure the modem is turned on and the router is powered on.
Step 2: Access the Router's Web-Based Setup Page

Such details provide a deeper understanding and appreciation for Access Point Setup On Linksys Ea6350.
Open a web browser on a device connected to the router and navigate to the router's default IP address, which is usually 192.168.1.1. This will take you to the router's web-based setup page.
Step 3: Log In to the Router
Log in to the router using the default password and username. You can find the default password and username in the user manual or on the manufacturer's website.
Step 4: Change the Network Name and Password
Change the network name and password to something secure to prevent unauthorized access. You can do this by going to the "Wireless Settings" section and changing the "Network Name" and "Password" fields.
Step 5: Set Up the Access Point Mode
To set up the access point mode, go to the "Advanced Wireless Settings" section and look for the "Access Point Mode" or "Wireless Bridge" option. Enable this option and configure the settings as prompted.
Step 6: Save the Changes
Save the changes by clicking on the "Apply" or "Save" button. This may take a few minutes, so be patient.
Step 7: Configure the Devices
Once the access point mode is set up, configure the devices you want to connect to the internet through the wired connection. Go to the "Wireless Settings" section and select the devices you want to connect using the "Connect Devices" option.
Benefits of Setting Up an Access Point
- Convenience: With an access point, you can connect devices that don't have a built-in Ethernet port to the internet.
- Increased Range: An access point can extend the range of your wireless network, making it possible to connect devices from a farther distance.
- Improved Performance: An access point can improve the performance of your wireless network by providing a dedicated connection for devices.
Conclusion
In this article, we covered the step-by-step process of setting up the Linksys EA6350 as an access point. This will enable devices without WiFi to connect to the internet through a wired connection. By following the steps outlined in this article, you can take advantage of the benefits of setting up an access point and improve the performance and convenience of your wireless network.


")


")


