Setting Up Wi-Fi on Your Google Wi-Fi Router: A Step-by-Step Guide
Introduction to Wi-Fi Setup on Google Wi-Fi Router
In today's era of wireless connectivity, having a stable and seamless Wi-Fi network is essential for both personal and professional purposes. Google Wifi is a popular mesh Wi-Fi system that offers a hassle-free setup process, ensuring you get the best internet experience throughout your home. With Google Wifi's self-install kit, you can set up your mesh network with ease, ensuring seamless connectivity for all your devices.Step 1: Unboxing and Preparation
This particular example perfectly highlights why Wi-Fi Setup On Google Wifi Router is so captivating.
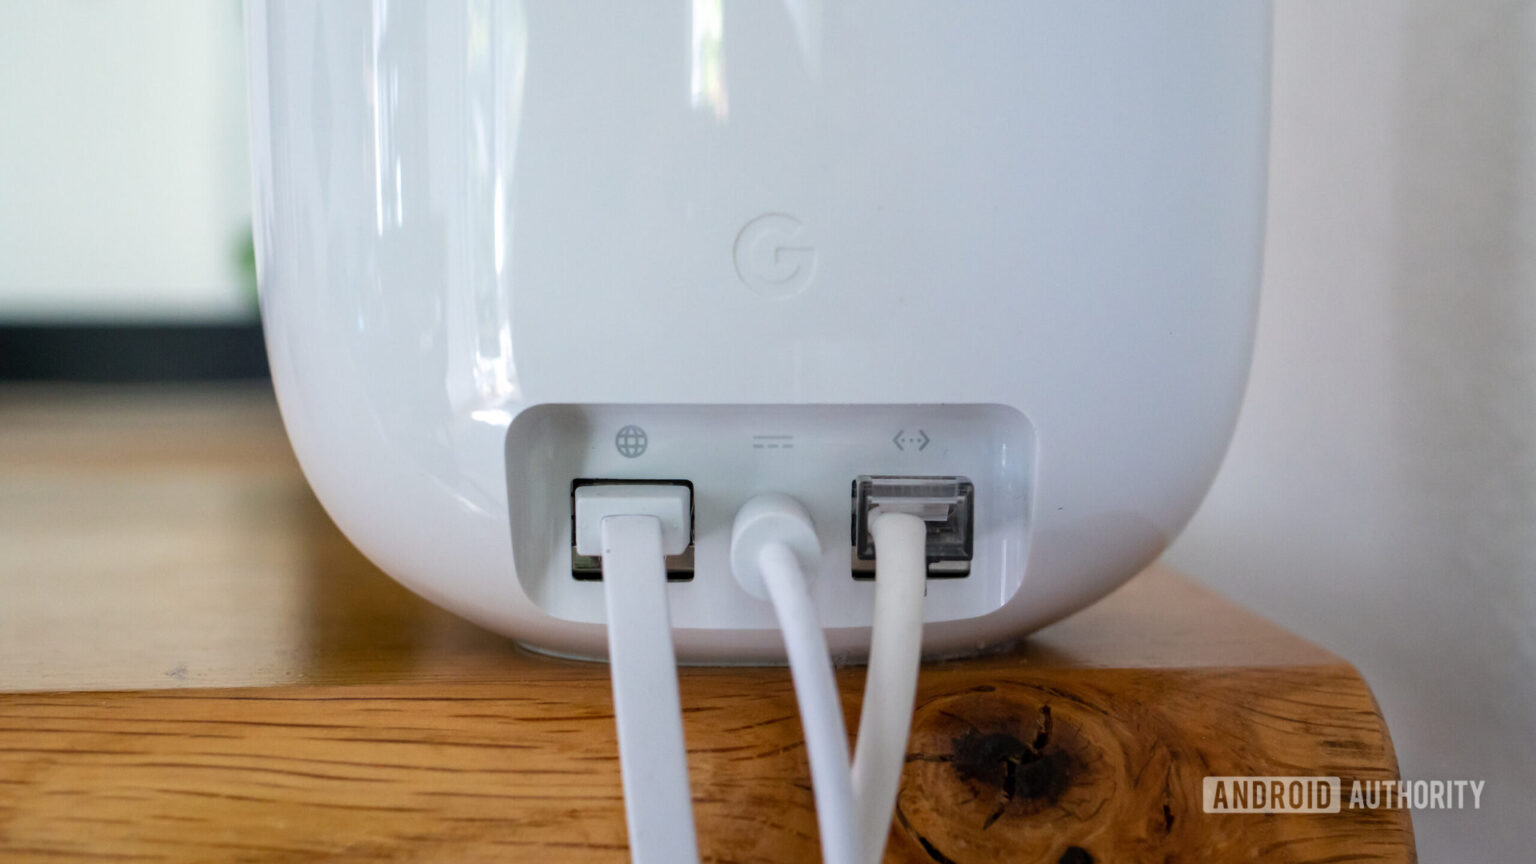
Before you start the setup process, make sure you have received your Google Wifi self-install kit, which includes the router, Wi-Fi points, and a Power Adapter. Ensure that your existing router is turned off and unplug it from the power outlet.Step 2: Plug in Your Google Wifi Router
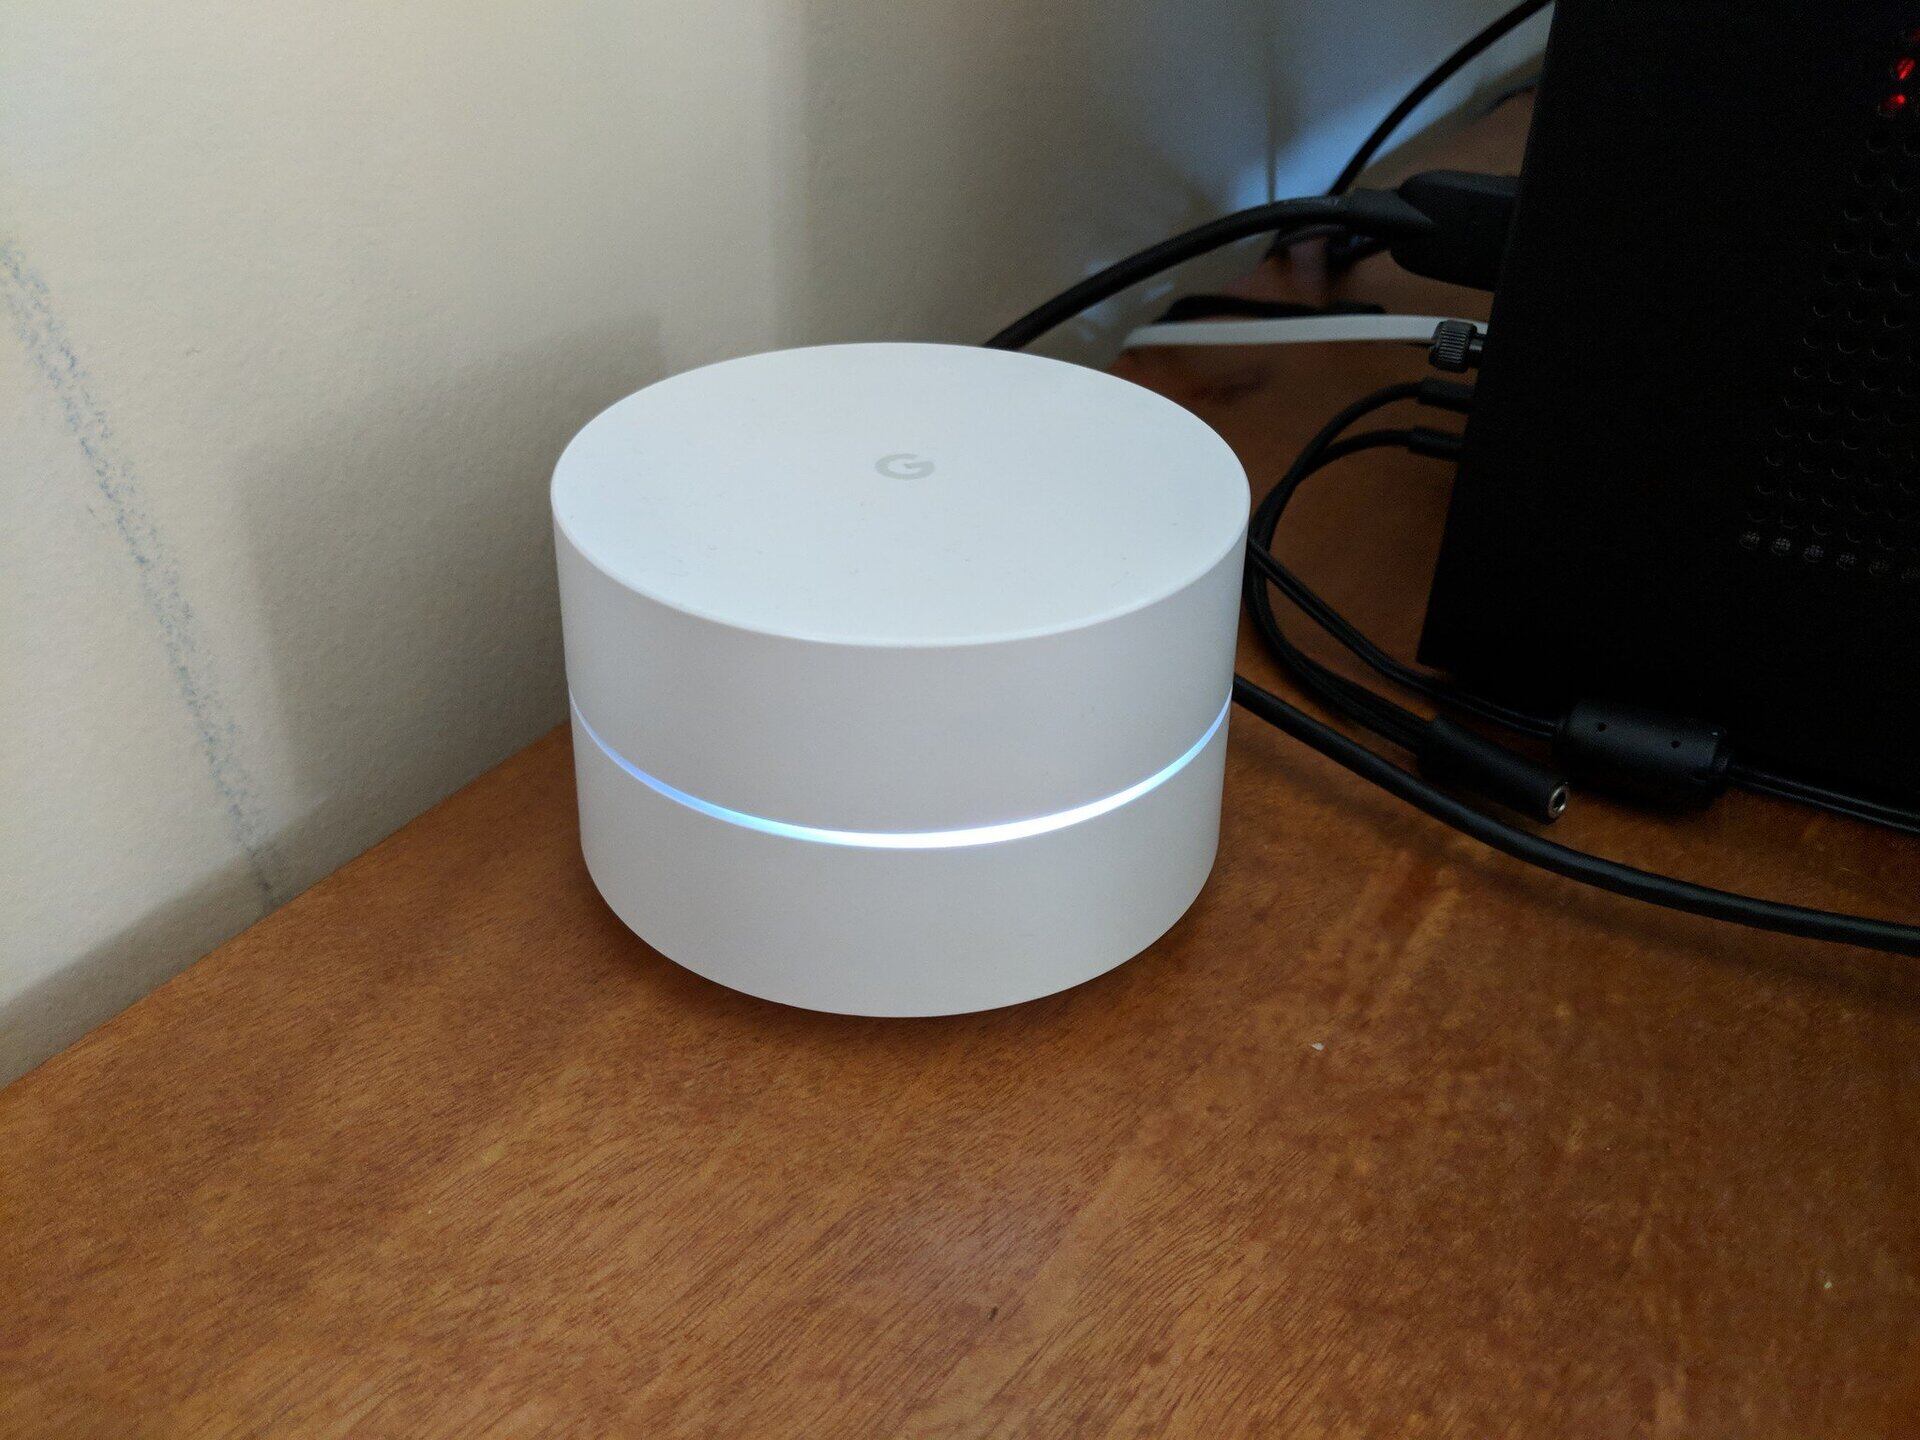
Connect the power adapter to the router and plug it into a power outlet. Wait for the lights on the router to turn green, indicating that it's powered on.Step 3: Get the Google Wifi App

As we can see from the illustration, Wi-Fi Setup On Google Wifi Router has many fascinating aspects to explore.
Download the Google Wifi app from the Google Play Store (for Android) or the App Store (for iOS). This app will guide you through the setup process and allow you to manage your network settings.Step 4: Create a New Network or Connect to an Existing One
Launch the Google Wifi app and follow the on-screen instructions to create a new network or connect to an existing one. Make sure to enter a strong and unique password to secure your network.Step 5: Connect Your Devices to the Wi-Fi Network


![View of [Wireless Router] How do I enter my ASUS router's setting page using ...](https://www.staples-3p.com/s7/is/image/Staples/sp108489069_sc7?wid=800&hei=800 "[Wireless Router] How do I enter my ASUS router's setting page using ...")


 - 1 pack - Best Buy")
 - TechnoWifi")


 & Point (H2E) - UBB.threads")

 On Amazon")


 Review - Mini PC Reviewer")

